**************************************************
21: C

**************************************************
22: 1 - 8 x 5 x5 (LxWxH)

22: 3 - 9 x 4 x 6

22: 4 - 7 x 7 x 4

22: 5 - 8 x 5 x 5

22: 6 - 8 x 5 x 6

22: 7 - 8 x 5 x 6

22: 8 -
22: 9 - 9 x 4 x 6

22:10 -
22: 11 - 8 x 5 x 6
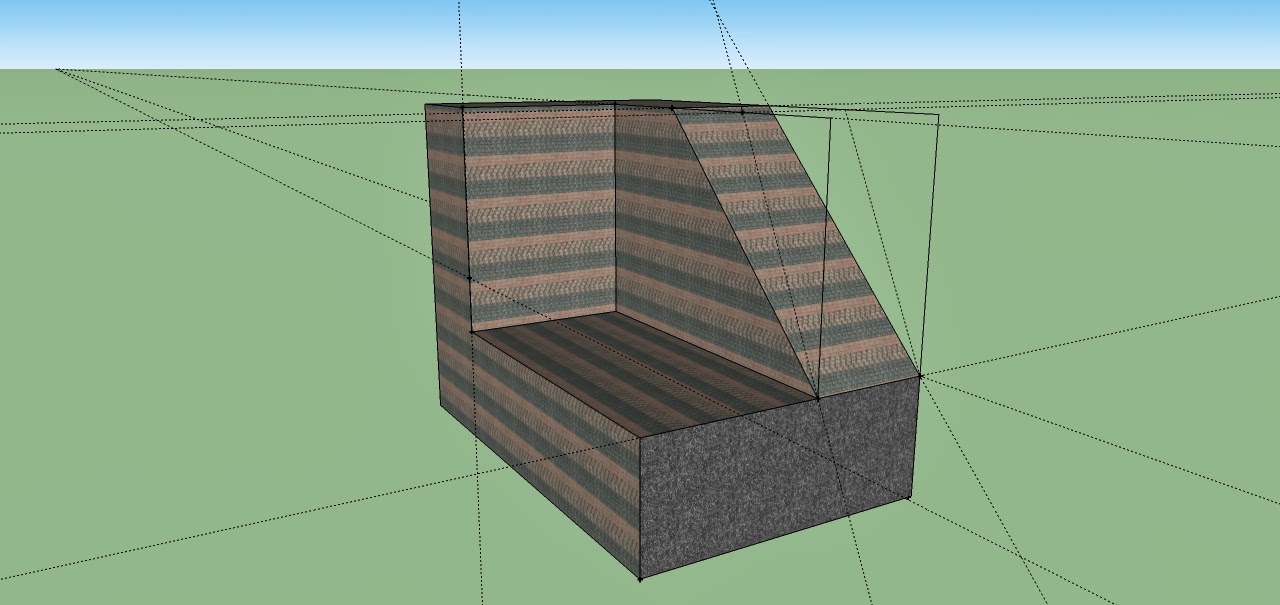
22: 12 - 9 x 4 x 7

For assignments 21 and 22 google sketch up was used to construct many blocks with different dimensions. This program allowed us to make designs that were very life like. Using tape measurements in the software we could construct precise measurements and we were not limited to only blocks and circles, we also had a pencil that gave us a little bit of more freedom. But the more practiced we acquired from the software we realized we could give these shapes slopes.
***************************************************
24: Creating a 3d viewing

This assignment had been an interesting one, that was actually quite simple. It only used up a few layers, such as the background and foreground. What had allowed this assignment to be 3D was un checking the channels and giving distance between the background and foreground.
25 - Animation Button

The power button will definitely be an assignment that I will remember due to its glow and affect that makes it seem as if it were constantly turning off and on. But in reality this power button is a mix of pictures, that have no delay.
*************************************************
Quiz: What is a GIF ?
A gif is present in assignment 26, which is a format compressing files. Meaning that picture seems to be in motion. For example assignment 26 is actually 14 slides !
26 - Test
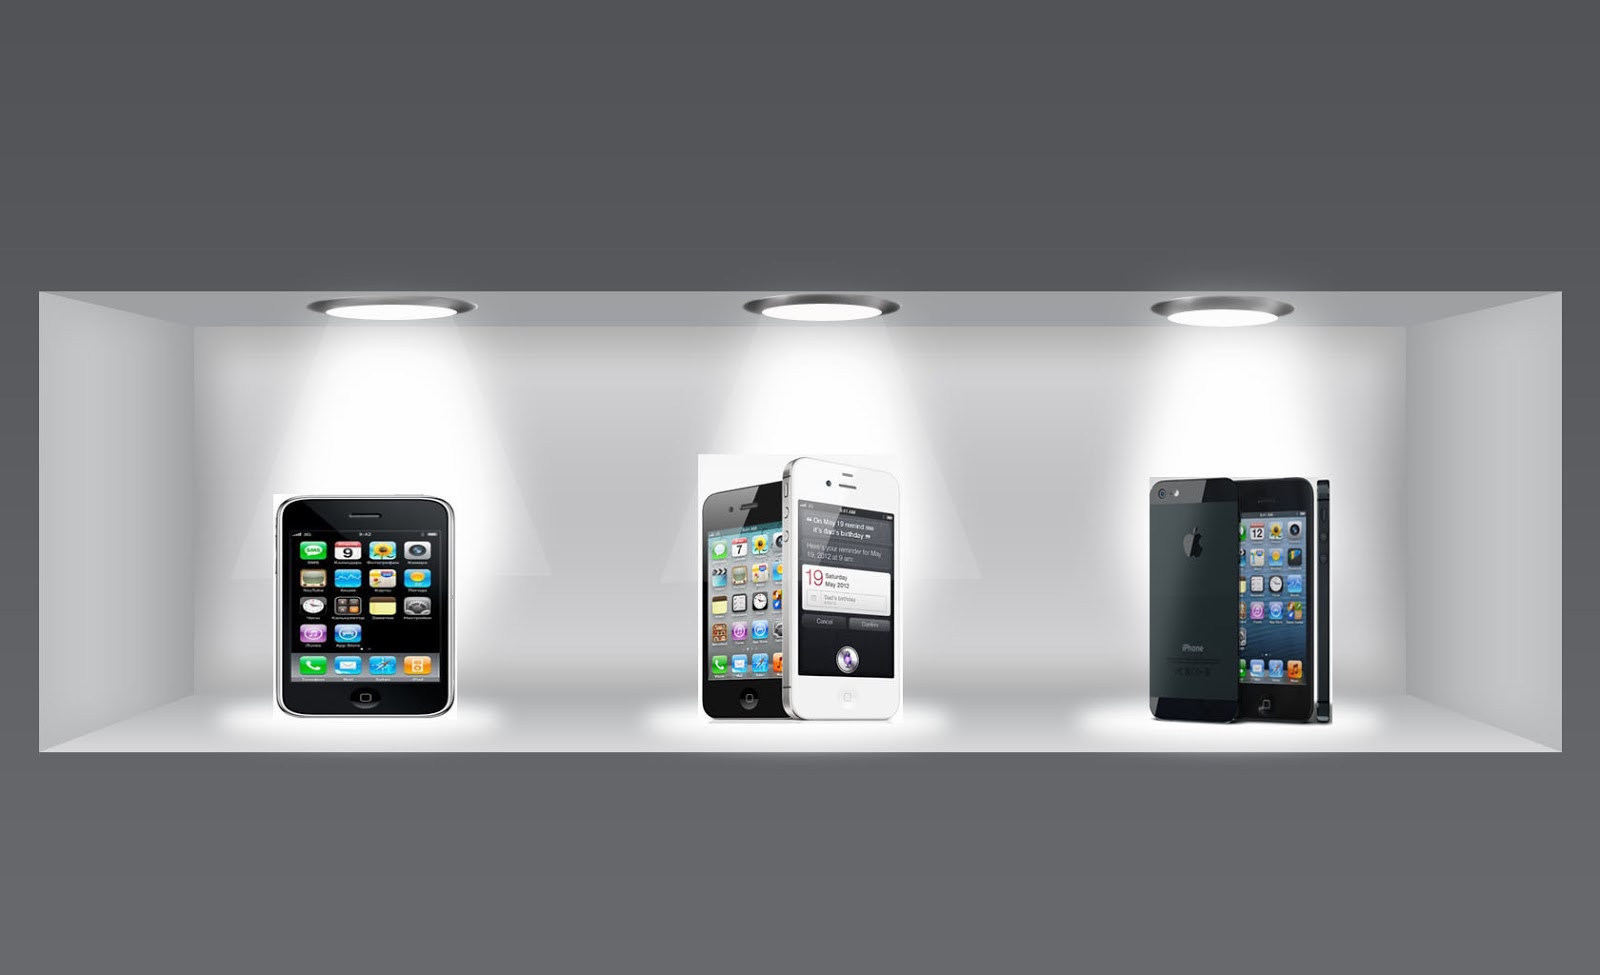
In this assignment, photoshop, was once used again. I have to say almost everything we learned in this course for photoshop, was used. Tons of layers was used for this assignment, meaning it had taking a long time. It was one of those assignments steps were done, and then in a way reversed. In the beginning this processed occurred a lot with the Rectangular Marquee Tool. i began to enjoy this assignment, when we began to give some color to the walls, the sides of it and the top by using the gradient feature. The elipse tool was a tool we had used once before, in this assignment it was used for the lights. The Elliptical Marquee Tool and opacity really was the main thing that gave the sense of light.
27 : Making a brochure